Share your results
Please enter your email
Results shared!
We've sent a link to your email so you can access your results at any time.
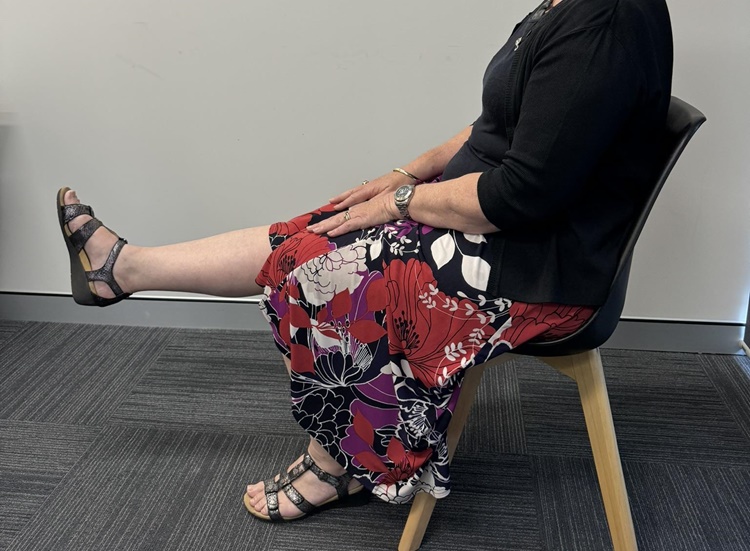
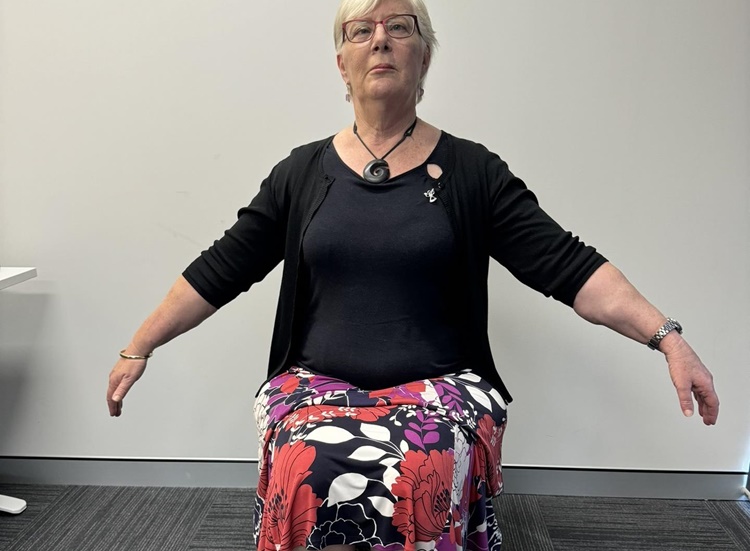
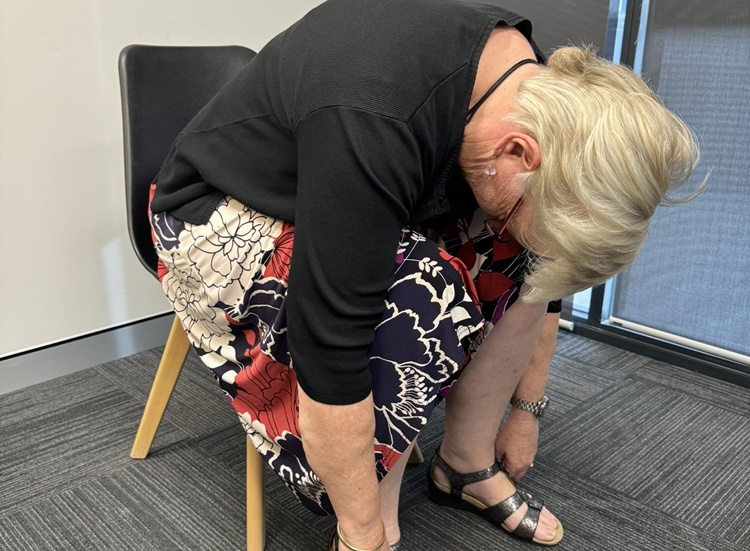
Here are 10 chair yoga poses to try in the comfort of your own home.
.tmb-large%20card.png?sfvrsn=9dd94457_2)
Have you heard of the benefits of chair yoga for older people? Perhaps you're not sure how to get started?
Here are 10 poses you can try for yourself at home.
You'll just need a stable chair with no arms. Be sure to place your chair on a flat surface somewhere you have room to extend your arms around you. It might be nice to choose a place with natural light and a pleasant view.
Read less....tmb-large%20card.png?sfvrsn=84c8459_4)
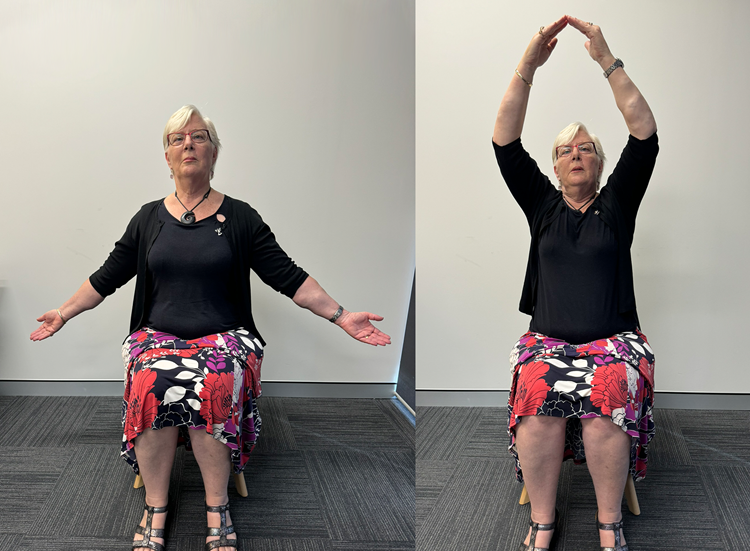
Before you begin, remember to listen to your body. Stretches should feel comfortable, not painful.
Stop and seek advice from a medical professional if you feel any new or increasing pain or if you feel dizzy, clammy, or short of breath. Some of these exercises may not be for you. Consult a medical professional if you are unsure.
And consider keeping a friend nearby when trying these exercises.
Read less...

.tmb-large%20card.png?sfvrsn=75858266_2)
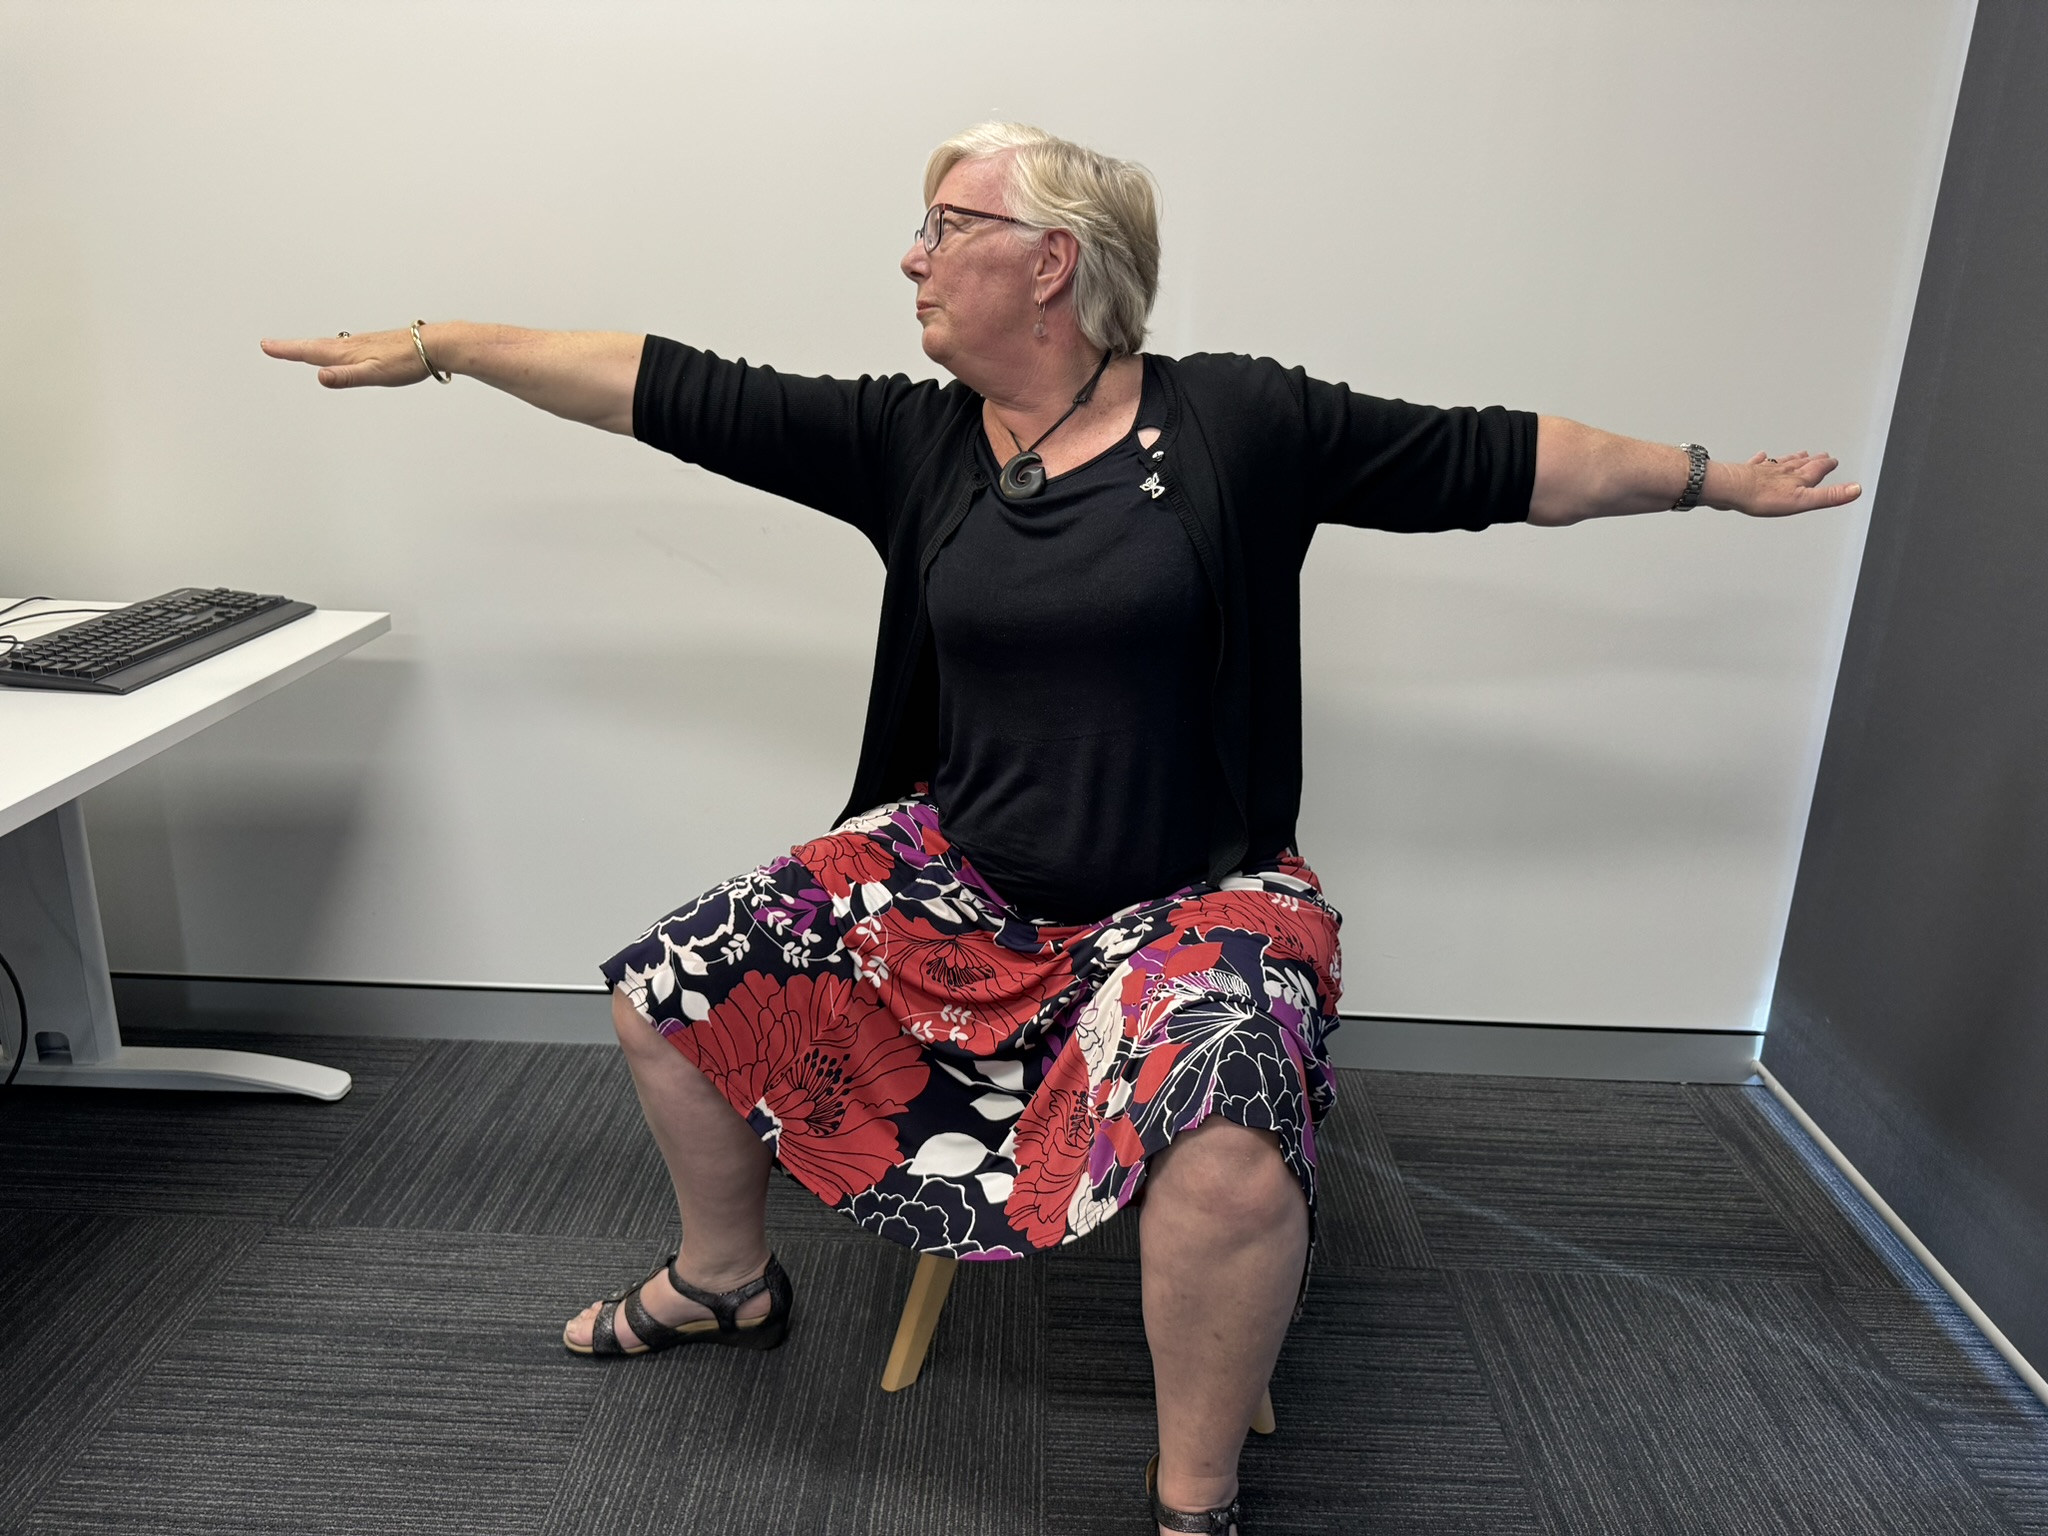
If you want a more guided session, you can look for instructional videos online. Try one of the chair yoga lessons on Daily Yoga, a helpful mobile app. Or find a local group in your community to practice with.
And once you’ve mastered these seated poses, you may want to advance the difficulty level. You may even want to try standing poses that include the chair as support. Always ask a professional when planning to advance your fitness practice.
You might also want to check out these other exercises that can be done from the comfort of your own chair. And here are 10 more exercises to improve your balance.
Read less....tmb-large%20card.png?sfvrsn=e66329ad_2)
If you would like to find local exercise classes, social activities, and helpful tips, try the quick quiz by clicking on the 'Let's Go' button below.
If you would like to find local exercise classes, social activities, and helpful tips, try the quick quiz by clicking on the 'Let's Go' button below.
Read less...Take our easy OpenUp quiz to get personalised advice and see suggested products, services and support in your local area or online.
Let's go!